Hurricane 3 Multi-Stage Boosting
For players chasing a transparent, lively H3 sponge—not just bulk expansion. Five thin stages: open the sponge, soften deep, lock with glue, final charge, then assemble.
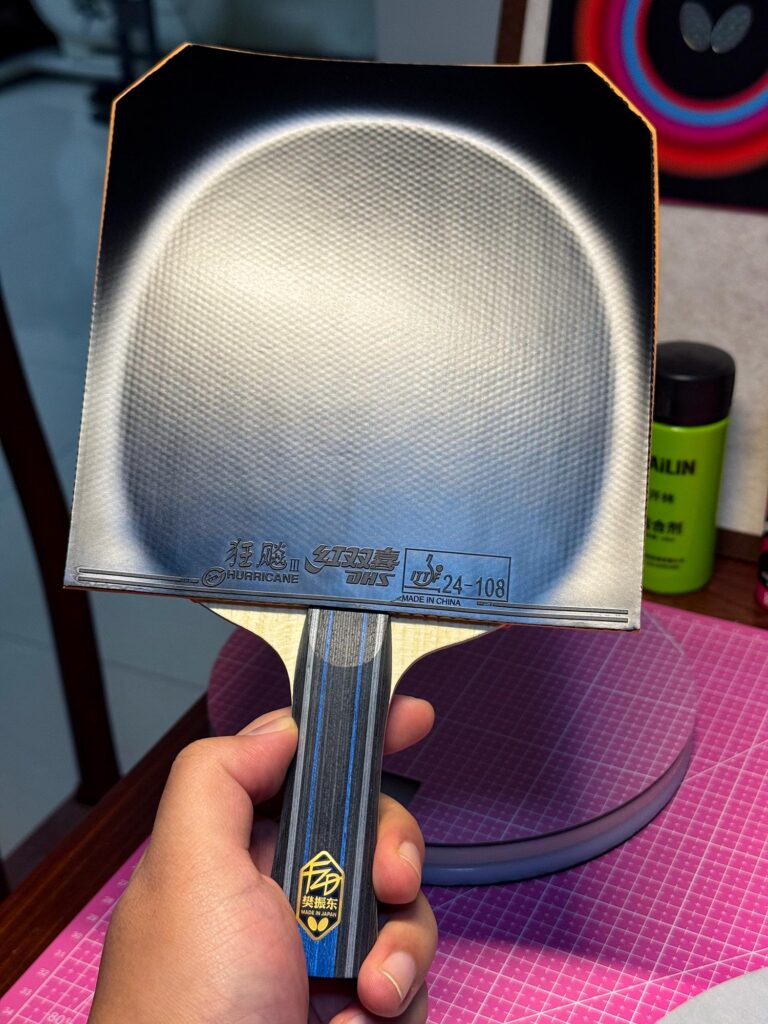
Background on whether to boost at all: Boosting Truth.
1. Initial activation
Brush a very thin layer of booster on the sponge—even coverage, no pools. This “opens the door” so oil can reach deeper fibers.
- Wait: about 6–12 hours
2. Deep softening
When the first layer is mostly absorbed, add a second thin layer the same way. Raises expansion further and eases the factory “dead/hard” feel.
- Wait: about 12 hours (overnight is fine)
3. Glue base (locking layer)
After both oil layers have soaked in, brush two thin layers of water-based glue in one direction—no scrubbing back and forth. Bonding layer + film to slow oil evaporation.
- Interval: about 1 hour between glue coats
- Tip: cold hairdryer until glue goes white → clear, if you want to shorten the wait
4. Final charge
When the glue film is fully dry, apply one last thin booster layer. It seeps slowly through the glue into the sponge.
- Wait: about 12 hours (overnight)
5. Assembly
One layer of water-based glue on blade and rubber; when dry, mount as usual.
Mistakes to avoid
!!! warning "Cold air only" If you use a dryer, use cold. Hot air ages the topsheet and can bubble (topsheet lift).
!!! tip "Thin is king" Oil or glue—less is more. Thick coats absorb unevenly or create a bumpy sheet that won’t lay flat.
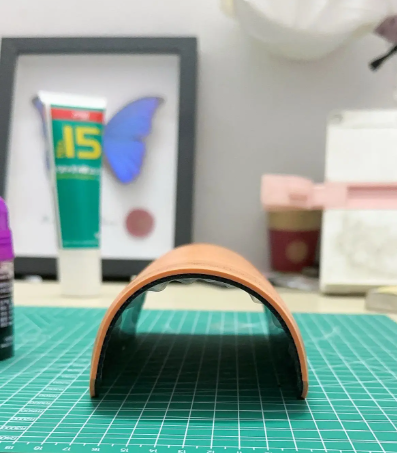
Curl: After this process H3 often curls hard. If mounting is difficult, flatten under books (plastic sheet in between) for 1–2 hours.
Related: Hurricane Blue vs Orange Sponge · Choosing Thickness vs Hardness
Note
Translated from Chinese—please suggest fixes if wording looks off.